Why a Professional Home Studio Matters More Than Ever
Creating content today is no longer just about having something to say—it’s about how you present it. Whether you’re producing videos, podcasts, live streams, or digital products, your studio environment directly influences how your audience perceives your work. A polished setup builds credibility, enhances visual quality, and makes your content more engaging without requiring expensive equipment. The good news is that a professional-looking home studio isn’t reserved for high-budget creators. With thoughtful planning, strategic upgrades, and a focus on fundamentals, even modest setups can rival the appearance of premium studios. The key lies in understanding what actually creates a “professional” look and using that knowledge to your advantage.
A: Lighting and audio quality make the biggest impact.
A: Yes, smart lighting and organization go a long way.
A: Not necessarily—modern smartphones can perform well.
A: Use a good mic and reduce echo in your space.
A: Front-facing soft light at eye level works best.
A: Keep it clean and add subtle design elements.
A: It helps, but artificial lighting adds consistency.
A: Very—it improves both appearance and workflow.
A: Yes, with proper layout and lighting.
A: Gradually, based on your evolving needs.
Start with the Space You Have
Every great studio begins with a clear understanding of the available space. You don’t need a dedicated room or large area to build something impressive. A corner of a bedroom, a section of a living room, or even a small office nook can become a high-functioning studio with the right approach.
The most important factor is control. A good studio space allows you to manage lighting, sound, and background elements effectively. Look for areas with minimal foot traffic, consistent lighting conditions, and enough room to position your camera and gear comfortably. Even tight spaces can feel expansive when organized with intention.
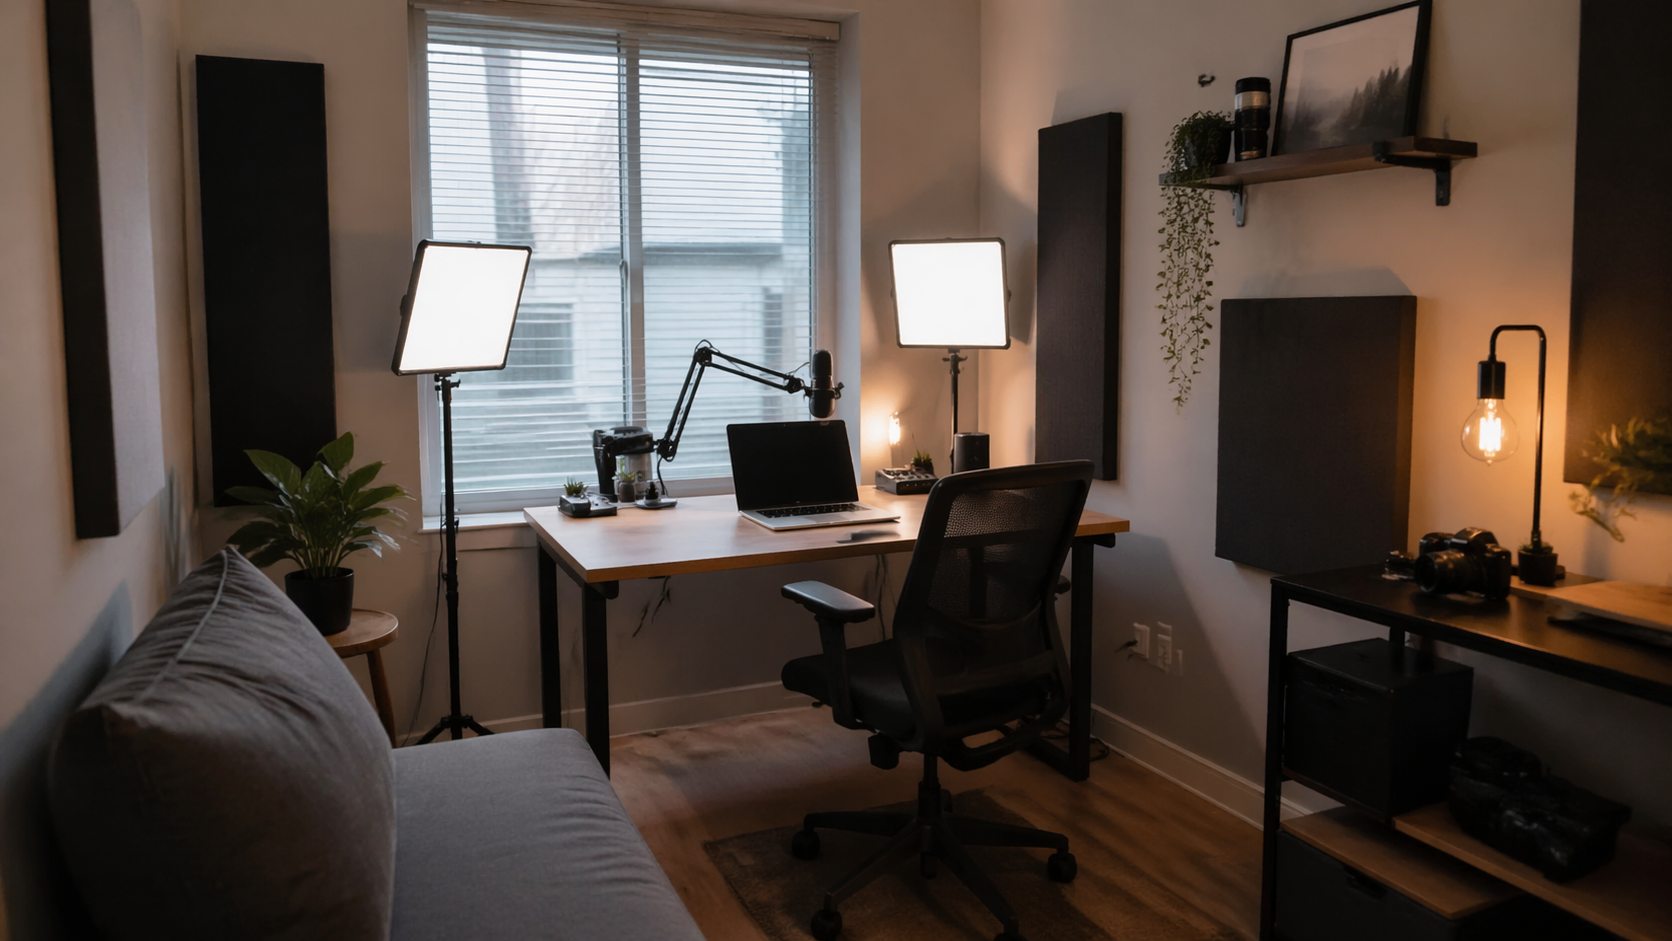
Lighting: The Fastest Way to Look Professional
Lighting is the single most powerful upgrade you can make to your home studio. Poor lighting instantly makes content look amateur, while well-balanced lighting elevates even the simplest setups.
Natural light is one of the best tools available, and it costs nothing. Positioning your desk near a window can provide soft, flattering illumination that enhances skin tones and reduces harsh shadows. However, natural light isn’t always consistent, which is where artificial lighting becomes essential.
Affordable lighting solutions like ring lights, softboxes, or LED panels can dramatically improve your setup. The key is placement. Lighting should be positioned in front of you, slightly above eye level, to create a clean and even look. Avoid harsh overhead lighting or strong backlighting, as these can create unwanted shadows and reduce image clarity.
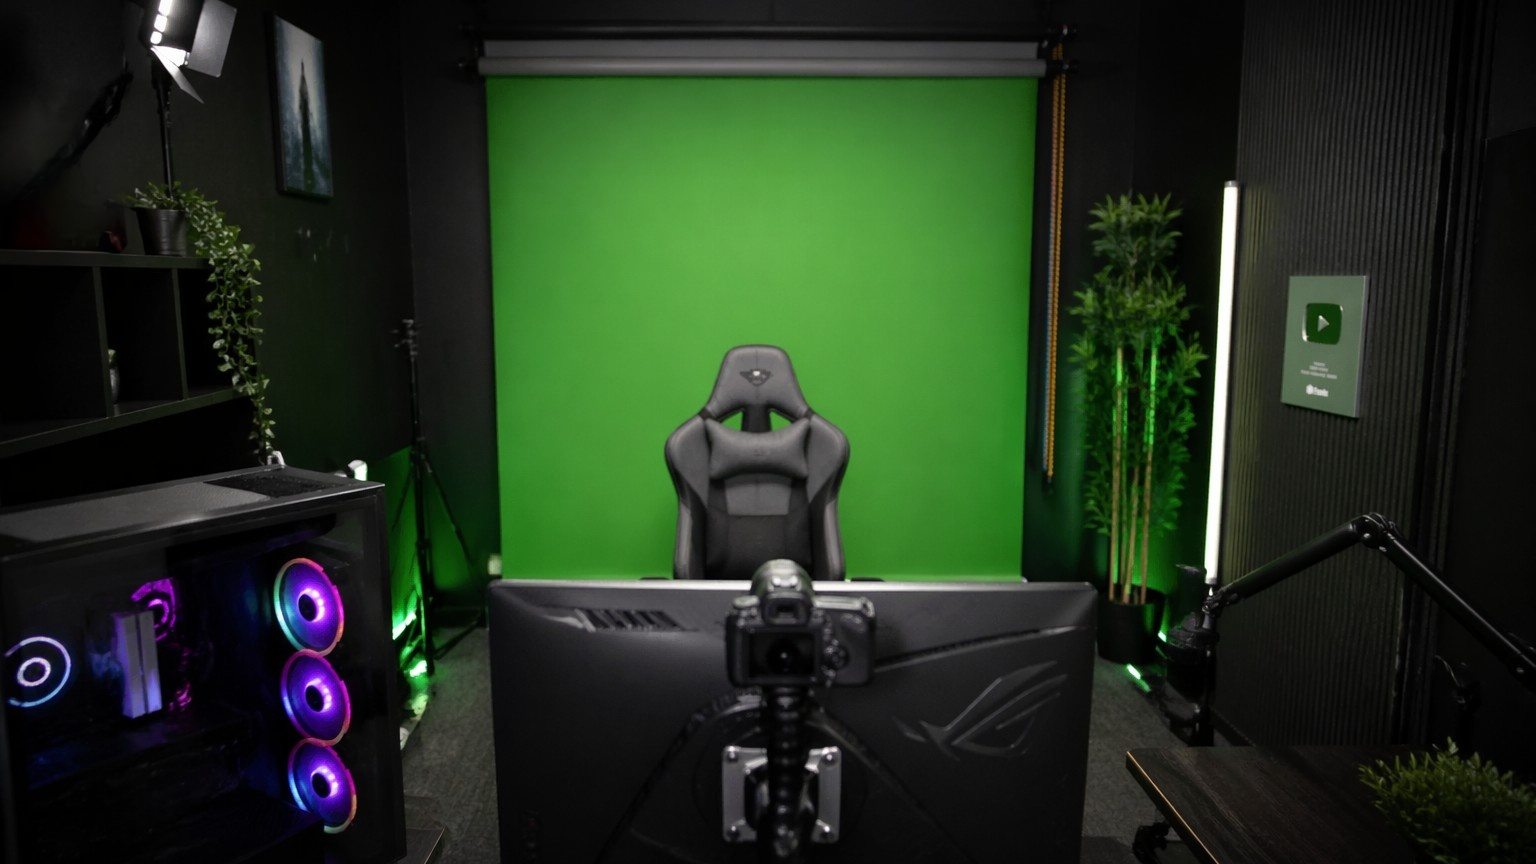
Background Design That Enhances Your Brand
A professional studio doesn’t just focus on the subject—it carefully considers what appears behind it. Background design plays a crucial role in shaping your visual identity and keeping your audience engaged. A clean and uncluttered background instantly improves professionalism. This doesn’t mean empty walls, but rather intentional design. Shelving with a few curated items, subtle décor, or neutral tones can create a balanced and visually appealing backdrop. Consistency is key, as a recognizable background helps reinforce your brand across content.
Depth also matters. Creating distance between you and the background allows for better focus and a more cinematic look. Even in small spaces, slight adjustments in positioning can create a noticeable difference in visual quality.
Desk Setup and Workflow Efficiency
A well-designed desk setup does more than look good—it improves how you work. Professional studios are built around efficiency, ensuring that everything is within reach and logically arranged.
Start by keeping your desk surface clean and organized. Clutter not only distracts visually but also disrupts your workflow. Position essential tools like your camera, microphone, and lighting in fixed locations so you can maintain consistency between recordings.
Cable management is often overlooked but makes a significant impact. Hidden or neatly arranged cables contribute to a polished look and reduce distractions. Simple solutions like clips, sleeves, or routing cables behind furniture can dramatically improve the overall appearance of your setup.
Audio Quality: The Hidden Professional Edge
While visuals often take center stage, audio quality is just as important—if not more so. Poor audio can drive viewers away, even if the video looks great. Fortunately, improving audio doesn’t require expensive equipment.
Start by reducing echo and background noise. Soft materials like rugs, curtains, and furniture naturally absorb sound and improve clarity. Even adding a few acoustic panels or foam can make a noticeable difference. Microphone placement is equally important. Positioning your microphone closer to your voice reduces ambient noise and creates a cleaner sound. Many budget-friendly microphones can deliver professional results when used correctly, making this one of the most cost-effective upgrades for any studio.
Smart Budget Upgrades That Deliver Big Results
Not all upgrades are created equal. Some changes have a much bigger impact than others, especially when working with a limited budget. The key is prioritizing improvements that enhance both visual and functional quality.
Lighting upgrades often provide the highest return, followed closely by audio improvements. Background design and organization come next, helping tie everything together into a cohesive look. Expensive gear should be considered only after these fundamentals are addressed, as even high-end equipment can underperform in a poorly designed setup.
Repurposing items you already own can also be surprisingly effective. Furniture, décor, and household items can often be adapted to fit your studio needs, reducing costs while maintaining quality.
Small Space Studio Ideas That Feel Big
Working with limited space doesn’t mean sacrificing professionalism. In fact, some of the most impressive studios are built in compact environments where every element serves a purpose. Vertical space becomes especially valuable in smaller setups. Shelving, wall-mounted lighting, and compact equipment help maximize functionality without overcrowding the area. Keeping the floor clear and maintaining clean lines also contributes to a more open feel.
Lighting plays an even bigger role in small spaces. Properly placed lights can create depth and separation, making the studio appear larger than it actually is. Neutral color palettes and minimalistic design choices further enhance this effect.
Creating a Studio That Reflects Your Style
A professional studio should feel authentic to the creator behind it. While functionality and quality are essential, personal style adds character and makes your content more memorable.
This doesn’t mean overwhelming the space with décor, but rather incorporating elements that align with your brand and personality. Subtle color accents, carefully chosen props, or unique design touches can make your studio stand out without distracting from the content.
Consistency is important here as well. Maintaining a cohesive look across your videos helps build recognition and strengthens your overall presence.
Balancing Aesthetics and Performance
One of the biggest challenges in building a home studio is finding the balance between how it looks and how it performs. A visually appealing setup is important, but it should never come at the expense of usability.
Professional studios are designed with both factors in mind. Equipment placement should support efficient workflows, while design choices should enhance rather than hinder functionality. This balance ensures that your studio not only looks great but also supports consistent, high-quality content creation.
Evolving Your Studio Over Time
A home studio is never truly finished. As your content grows and your needs change, your setup should evolve alongside it. The best approach is to start simple, focus on the fundamentals, and gradually introduce upgrades based on your experience. This iterative process allows you to make informed decisions and avoid unnecessary expenses. Each improvement builds upon the last, creating a studio that becomes more refined and professional over time.
Professional Results Without the Price Tag
Building a professional-looking home studio doesn’t require a large investment—it requires smart decisions. By focusing on lighting, organization, audio quality, and thoughtful design, you can create a space that looks polished, performs efficiently, and supports your creative goals.
The most successful studios aren’t defined by how much they cost, but by how well they are designed. With the right approach, any space can become a professional environment that enhances your content and leaves a lasting impression on your audience.