The Power of Light in 3D Art
Lighting is one of the most important skills any 3D artist can master. It shapes the mood of a scene, reveals form, guides the viewer’s eye, and transforms a basic model into a believable world. A perfectly modeled object can still feel flat without strong lighting, while a simple scene can look cinematic when light is handled with confidence. In 3D art and modeling, lighting is more than brightness. It is structure, emotion, contrast, realism, atmosphere, and storytelling all working together. Whether you create product renders, game environments, cinematic shots, character portraits, architectural visualizations, or stylized scenes, lighting determines how your work is experienced.
A: Start with one key light, then add fill and rim lights only when needed.
A: They likely need stronger contrast, better shadows, and a clearer main light source.
A: No. HDRIs are useful, but custom lights often provide better creative control.
A: Match shadow softness to light size and use contact shadows for grounding.
A: It simulates light bouncing between surfaces, creating more natural indirect lighting.
A: Use large soft lights, controlled reflections, clean shadows, and balanced exposure.
A: Low samples, complex indirect light, reflective materials, and volumetric effects can create noise.
A: Very important. Warm and cool light strongly influence mood and realism.
A: Yes. Stylized lighting works well when it is intentional, consistent, and visually clear.
A: Study real references, recreate lighting setups, and practice with simple scenes often.
Why Beginners Struggle with 3D Lighting
Many beginners focus first on modeling and materials, then treat lighting as the final step. This often leads to scenes that look unfinished, artificial, or dull. The problem is not always the model or texture quality. Often, the issue is that the light has no clear direction, purpose, or relationship to the story being shown.
Good lighting begins with intention. Before placing a light, ask what the scene should feel like. Is it warm and inviting, cold and mysterious, polished and commercial, dramatic and cinematic, or soft and natural? Once the mood is clear, every lighting choice becomes easier.
Understanding Real-World Light
To become skilled at 3D lighting, study how light behaves in the real world. Light travels from a source, hits surfaces, bounces, reflects, scatters, and fades with distance. It changes color depending on the environment and creates shadows that reveal shape and scale.
Realistic lighting depends on small details. Sunlight creates different shadows than a softbox. A cloudy sky produces broad, gentle illumination. A candle gives off warm light that fades quickly. A polished floor reflects highlights, while rough fabric scatters light softly. The more you observe real light, the better your digital lighting becomes.
Start with One Light
One of the best beginner exercises is lighting a scene with only one light. This forces you to understand direction, shadow, intensity, and composition. A single light can create drama, mystery, elegance, or clarity depending on where it is placed.
Move the light around the subject and observe what changes. Front lighting reveals detail but may look flat. Side lighting adds depth and texture. Backlighting creates silhouettes and separation. Top lighting can feel natural or dramatic, while low lighting often feels unusual, eerie, or theatrical.
The Key Light
The key light is the main light source in your scene. It defines the strongest direction of illumination and establishes the overall look. In a natural scene, the key light might be the sun. In a studio render, it might be a large area light. In a character portrait, it might be the primary light hitting the face.
The key light should usually have a clear purpose. It can highlight the subject, establish mood, or create strong shadow shapes. Beginners often use too many lights too quickly, which can flatten a scene. A strong key light gives the image a visual foundation.
The Fill Light
The fill light softens the shadows created by the key light. It does not need to be as bright as the key. Its purpose is to preserve detail in darker areas without removing contrast completely.
A common beginner mistake is making the fill light too strong. When fill light overpowers the shadows, the scene loses depth. Realistic lighting often depends on controlled darkness. Shadows should not always disappear; they should support the shape and mood of the image.
The Rim Light
A rim light, also called a back light or edge light, creates separation between the subject and the background. It often appears as a thin highlight along the edge of an object or character. This is especially useful for portraits, product renders, and cinematic scenes.
Rim lighting can make a subject feel more dimensional and polished. In dark scenes, it helps prevent objects from blending into the background. In stylized work, it can add energy and graphic appeal.
Three-Point Lighting
Three-point lighting combines a key light, fill light, and rim light. This classic setup is widely used in photography, film, animation, and 3D rendering because it is simple, flexible, and effective.
For beginners, three-point lighting is a reliable framework. For professionals, it is a starting point rather than a rule. Once you understand how each light functions, you can adjust the setup for realism, drama, softness, or stylization.
Natural Lighting in 3D
Natural lighting is often harder than it looks. Real daylight is complex because it includes direct sunlight, sky light, bounce light, atmospheric scattering, and color shifts. A realistic outdoor render must account for more than simply placing a bright sun lamp in the scene.
Morning light tends to be soft and warm. Midday sunlight is brighter, harsher, and more neutral. Golden hour lighting creates long shadows and rich color. Overcast lighting is diffused, low contrast, and excellent for showing details without harsh shadows. Understanding these differences helps you build more believable outdoor scenes.
HDRI Lighting
HDRI lighting uses high dynamic range images to illuminate a 3D scene. These images contain real-world lighting information, making them excellent for realistic reflections and environmental illumination.
HDRIs are especially useful for product renders, automotive scenes, outdoor previews, and quick lighting setups. However, they should still be used with intention. Not every HDRI fits every scene. The direction of light, color tone, contrast, and reflection quality should match the mood you want.
Area Lights and Soft Shadows
Area lights are among the most useful tools for realistic 3D lighting. They simulate larger light sources, creating soft shadows and smooth highlights. The larger the area light, the softer the shadow. The smaller the light source, the harder the shadow.
Soft shadows are common in studio lighting, interior scenes, cloudy outdoor environments, and product photography. They can make renders feel polished and professional. Hard shadows, however, still have value when used intentionally for drama, sunlight, or graphic composition.
Shadows Create Believability
Shadows are essential for realism. They anchor objects to surfaces, reveal scale, and show the relationship between objects. Without proper shadows, models can appear to float or feel disconnected from the environment.
Contact shadows are especially important. These are the small, dark shadows where objects touch or come close to other surfaces. They add weight and realism. Even subtle contact shadows can make a huge difference in how believable a scene feels.
Global Illumination
Global illumination simulates the way light bounces between surfaces. In the real world, light rarely hits one surface and disappears. It reflects, spreads, and carries color from one object to another.
In 3D rendering, global illumination helps create natural indirect lighting. It prevents shadows from becoming unnaturally black and allows scenes to feel more connected. Interior renders, especially, depend heavily on global illumination because much of the light comes from bouncing surfaces rather than direct sources.
Color Temperature
Color temperature controls whether light feels warm, cool, or neutral. Warm light can create comfort, sunset atmosphere, candlelight, or interior coziness. Cool light can suggest moonlight, technology, winter, or clinical environments.
Mixing color temperatures is a powerful technique. A warm lamp against a cool blue evening background can create cinematic contrast. A cool rim light behind a warm key light can make a subject stand out. Color temperature is not just technical; it is emotional.
Lighting for Mood
Every lighting setup tells a story. Bright, even lighting can feel clean and commercial. Strong contrast can feel dramatic. Low-key lighting can feel mysterious or intense. Soft diffused lighting can feel calm and elegant.
Before lighting a scene, define the emotional goal. A fantasy forest, luxury product render, horror hallway, cozy bedroom, and futuristic city should not all be lit the same way. Mood gives lighting purpose.
Lighting for Composition
Lighting guides the viewer’s eye. The brightest area of an image often attracts attention first. You can use this to highlight the subject, create visual hierarchy, and lead the viewer through the scene.
Good lighting supports composition by creating focal points. If every part of the scene is equally bright, the viewer may not know where to look. Controlled lighting helps simplify the image and make it more powerful.
Reflections and Highlights
Reflections are a major part of realistic lighting. Glossy materials, glass, metal, polished floors, wet surfaces, and screens all depend on reflected light. In product rendering, highlights often define the shape more than the base material itself.
Controlling reflections is a professional skill. Sometimes you need to add area lights just to create attractive highlights. Other times you may need to adjust roughness, light size, or camera angle. Reflections should enhance form, not distract from it.
Lighting Different Materials
Different materials respond to light in different ways. Metal reflects the environment strongly. Glass refracts and reflects light. Skin uses subsurface scattering. Fabric absorbs and diffuses light. Plastic can range from matte to glossy.
A lighting setup that works for one material may not work for another. Jewelry needs crisp highlights. Skin needs softness and subtle color. Architecture needs balanced natural illumination. Understanding material behavior helps you choose better lighting strategies.
Volumetric Lighting
Volumetric lighting simulates light passing through particles in the air, such as fog, dust, mist, smoke, or atmosphere. This creates visible light beams and depth.
Volumetrics can make a scene feel cinematic and immersive. A sunbeam entering a dusty room, headlights cutting through fog, or neon glowing in a rainy alley all rely on atmospheric light. Use this technique carefully, because too much volume can make a scene look heavy or noisy.
Interior Lighting
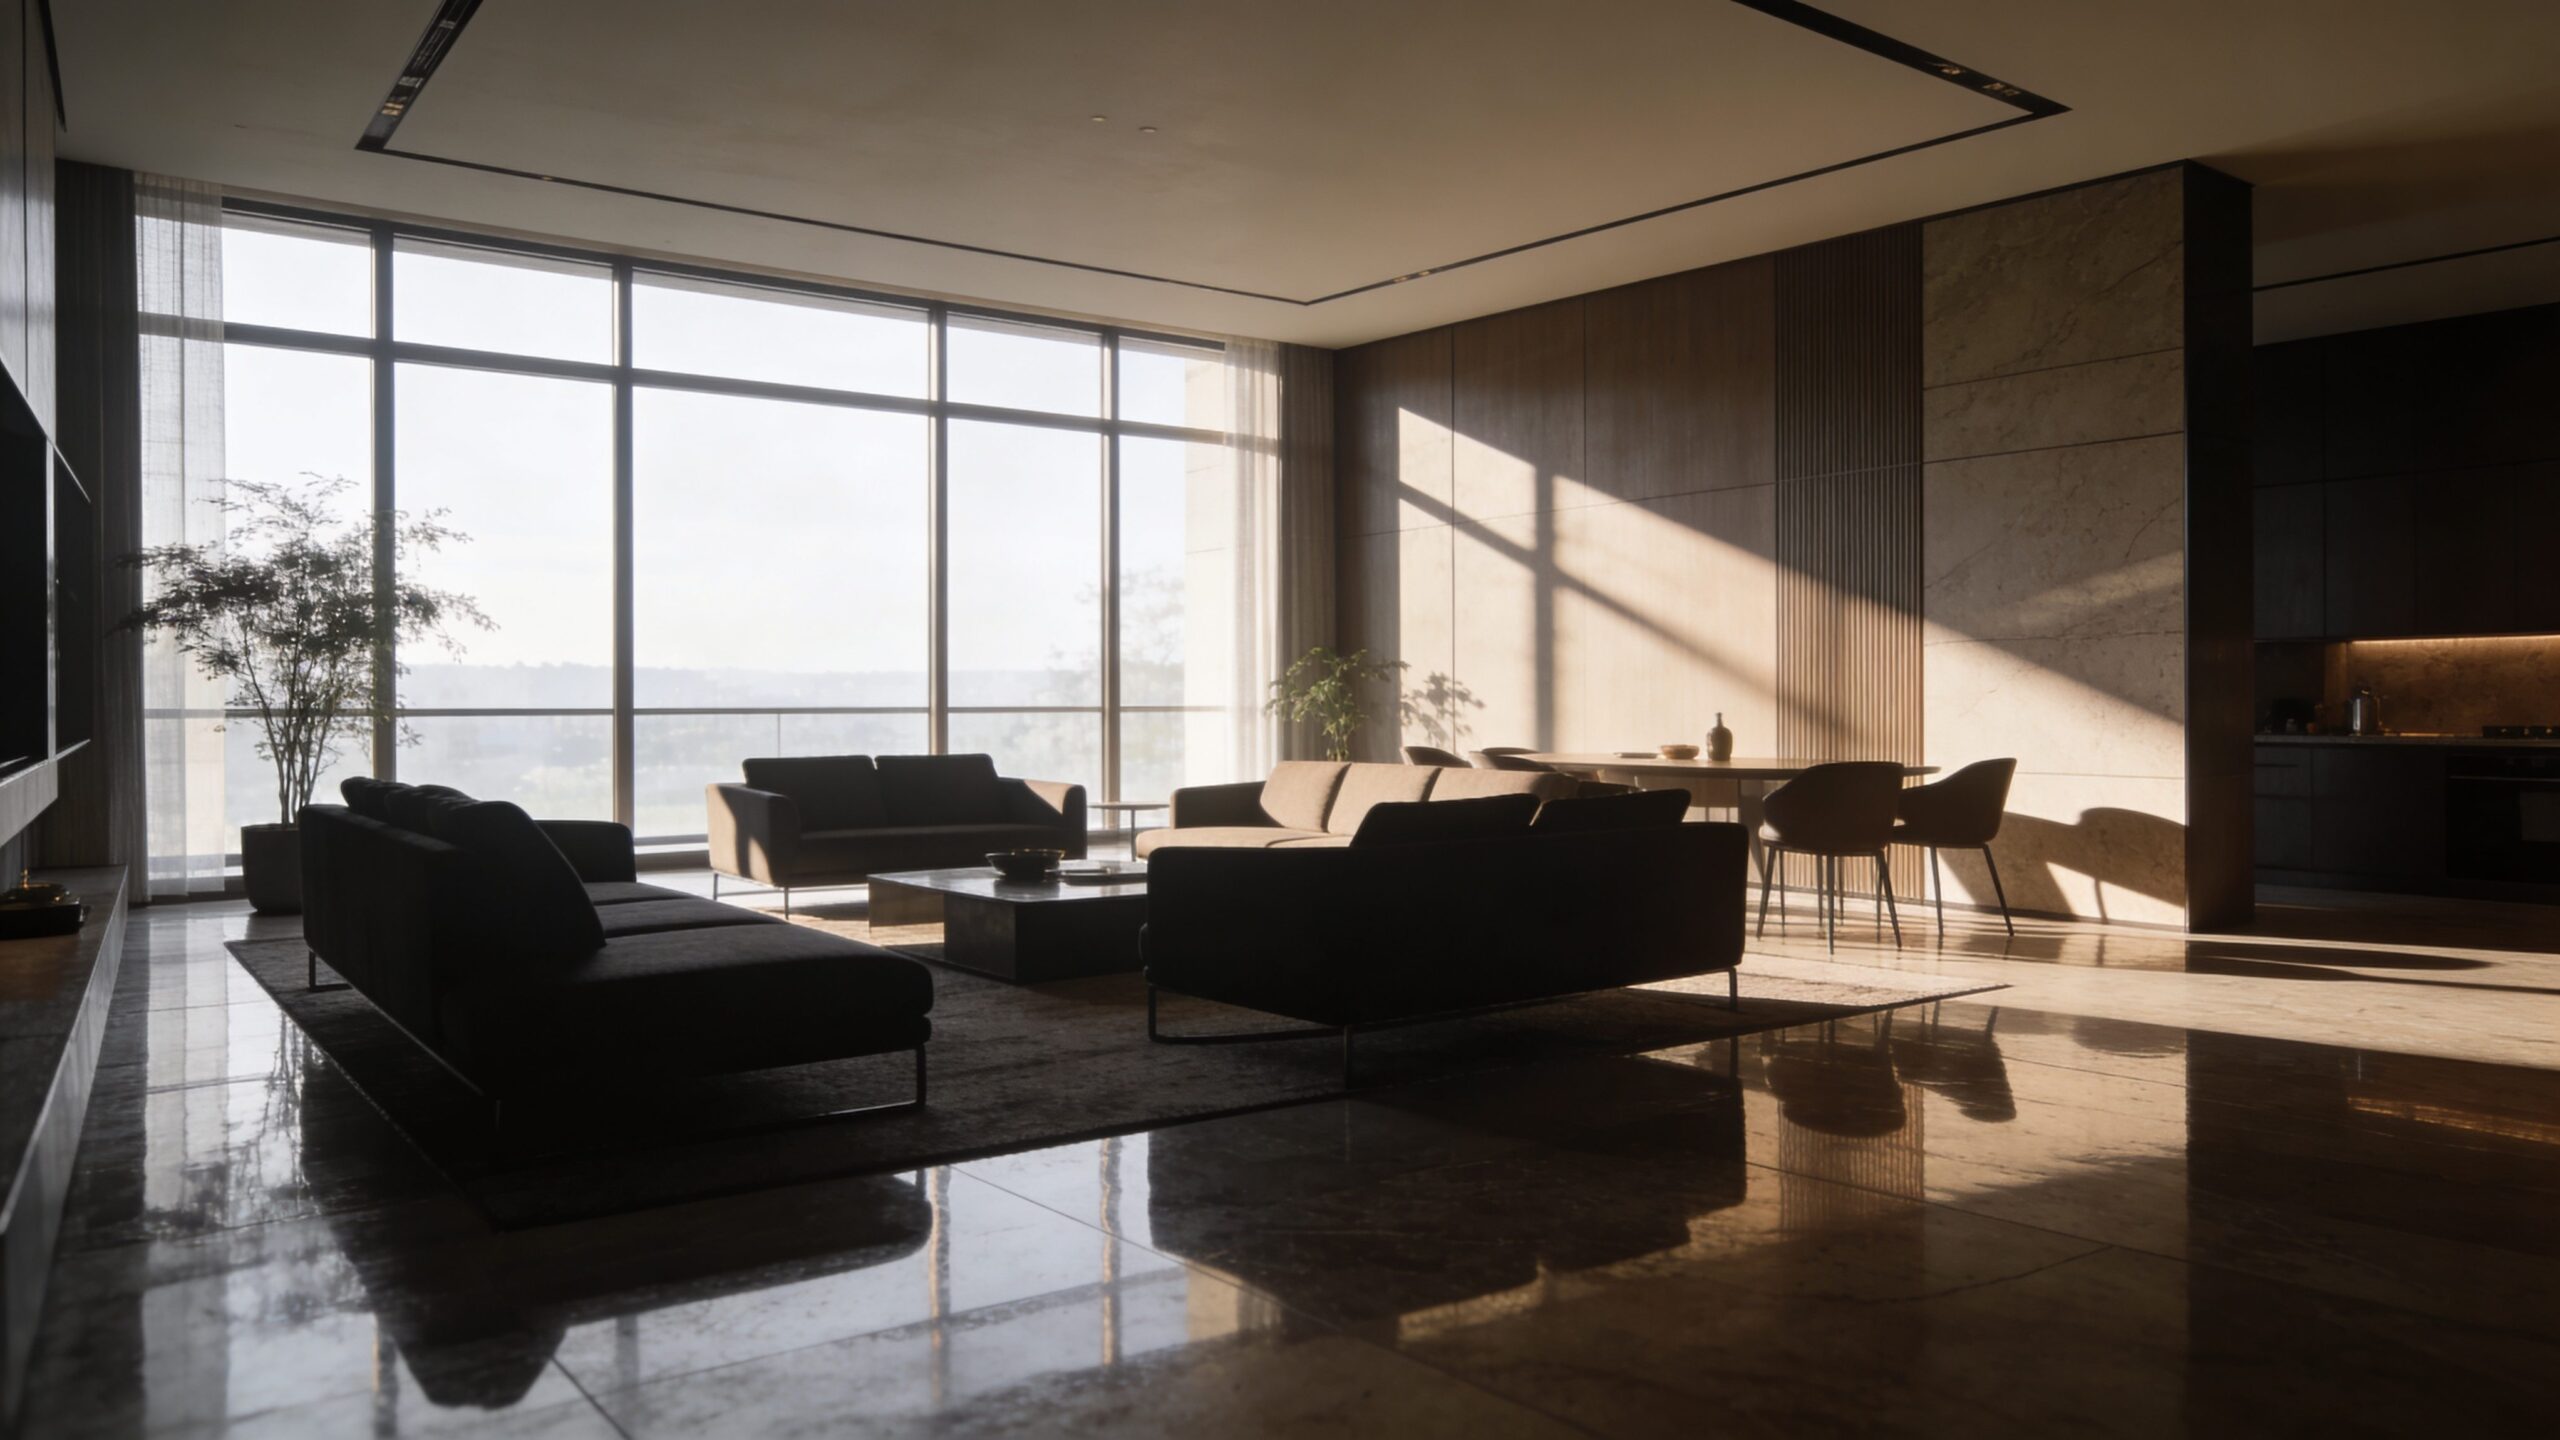
Interior lighting requires patience because light must bounce through enclosed spaces. Windows, lamps, ceiling fixtures, reflective surfaces, and wall colors all influence the final image.
A good interior render usually combines natural light with practical lights. Natural window light provides broad illumination, while lamps and fixtures add warmth and visual interest. The goal is to make the space feel lived-in, believable, and intentional.
Exterior Lighting
Exterior lighting often depends on the sun, sky, and atmosphere. The time of day dramatically changes the result. Early morning and sunset create long shadows and rich colors. Midday lighting is strong and direct. Night scenes require artificial sources such as streetlights, windows, signs, and vehicle lights.
For realistic exterior scenes, avoid lighting everything equally. Let some areas fall into shadow. Use contrast, atmosphere, and bounce light to create depth.
Product Lighting
Product lighting is about clarity, beauty, and control. The goal is to show shape, material, and value. Clean highlights, soft shadows, and balanced reflections are essential.
Many product renders use large area lights, reflective cards, and controlled studio environments. Small adjustments can completely change how premium a product feels. A strong product render does not simply show the object; it makes the object desirable.
Character Lighting
Character lighting must support personality, emotion, and facial readability. The placement of the key light affects how the face is perceived. Soft lighting can feel approachable, while strong side lighting can feel intense or heroic.
Eyes are especially important. Catchlights, or small reflections in the eyes, bring life to a character. Without them, even a well-modeled character can feel dull or lifeless.
Cinematic Lighting
Cinematic lighting uses contrast, color, direction, and atmosphere to create drama. It often borrows from film language, including motivated lighting, silhouettes, rim lights, practical lights, and strong mood direction.
Motivated lighting means the light appears to come from a believable source in the scene, such as a window, lamp, fire, screen, or streetlight. This helps the lighting feel natural even when it is carefully staged.
Stylized Lighting
Not every 3D project needs photorealism. Stylized lighting can exaggerate color, simplify shadows, or break physical rules to create a specific artistic look. Animation, games, fantasy art, and motion graphics often use stylized lighting for impact.
The key is consistency. Stylized lighting should still feel intentional. Even when realism is not the goal, the viewer should understand the visual language of the scene.
Render Settings and Lighting Quality
Lighting quality is closely tied to render settings. Low samples can create noise, especially in shadows, reflections, and volumetric effects. Poor bounce settings can make global illumination feel weak. Incorrect exposure can make a scene too bright or too dark.
A professional workflow balances quality and speed. Increase samples where needed, use denoising carefully, and optimize lights to avoid unnecessary render cost. The best render is not always the slowest render; it is the one that achieves the desired result efficiently.
Common Beginner Mistakes
One common mistake is using too much ambient light. This removes contrast and makes scenes look flat. Another mistake is placing lights without considering real-world motivation. If light direction makes no sense, realism suffers.
Beginners also tend to overexpose renders, ignore shadows, use mismatched color temperatures, or rely entirely on default lighting. These issues are easy to fix once you begin lighting with purpose.
A Beginner-to-Pro Lighting Workflow
Start with references. Study photos, films, paintings, and real-world environments. Then define your mood and choose your main light source. Block in the key light first and test the scene in grayscale if needed.
Next, add fill and rim lights only when they serve the composition. Adjust shadows, reflections, exposure, and color temperature. Finally, refine the render with global illumination, volumetrics, and post-processing. This step-by-step approach keeps lighting manageable and prevents confusion.
How to Practice 3D Lighting
The best way to improve is through focused practice. Light the same object in different ways: morning, night, studio, horror, luxury, fantasy, and commercial. This teaches you how lighting changes perception.
You can also recreate lighting from movie stills or photography references. Try to match the direction, softness, color, and contrast. This builds observation skills and technical control.
Professional Lighting Mindset
Professional lighting is not about using more lights. It is about making better decisions. Every light should have a reason. Every shadow should support the composition. Every highlight should reveal something useful.
A pro artist knows when to add detail and when to simplify. The strongest lighting often feels effortless, but behind it is careful control. Mastery comes from understanding both technical settings and emotional impact.
Final Thoughts
Mastering 3D lighting is a journey from observation to control. At first, lighting may feel confusing, but every scene teaches you something. As you learn how light behaves, how shadows shape form, and how color affects mood, your renders begin to feel more alive.
Great lighting makes digital art memorable. It gives weight to objects, emotion to characters, beauty to products, and atmosphere to worlds. Whether you are just starting or refining a professional portfolio, lighting is one of the most powerful skills you can develop as a 3D artist.