
Lighting Gives Blender Renders Their Shape
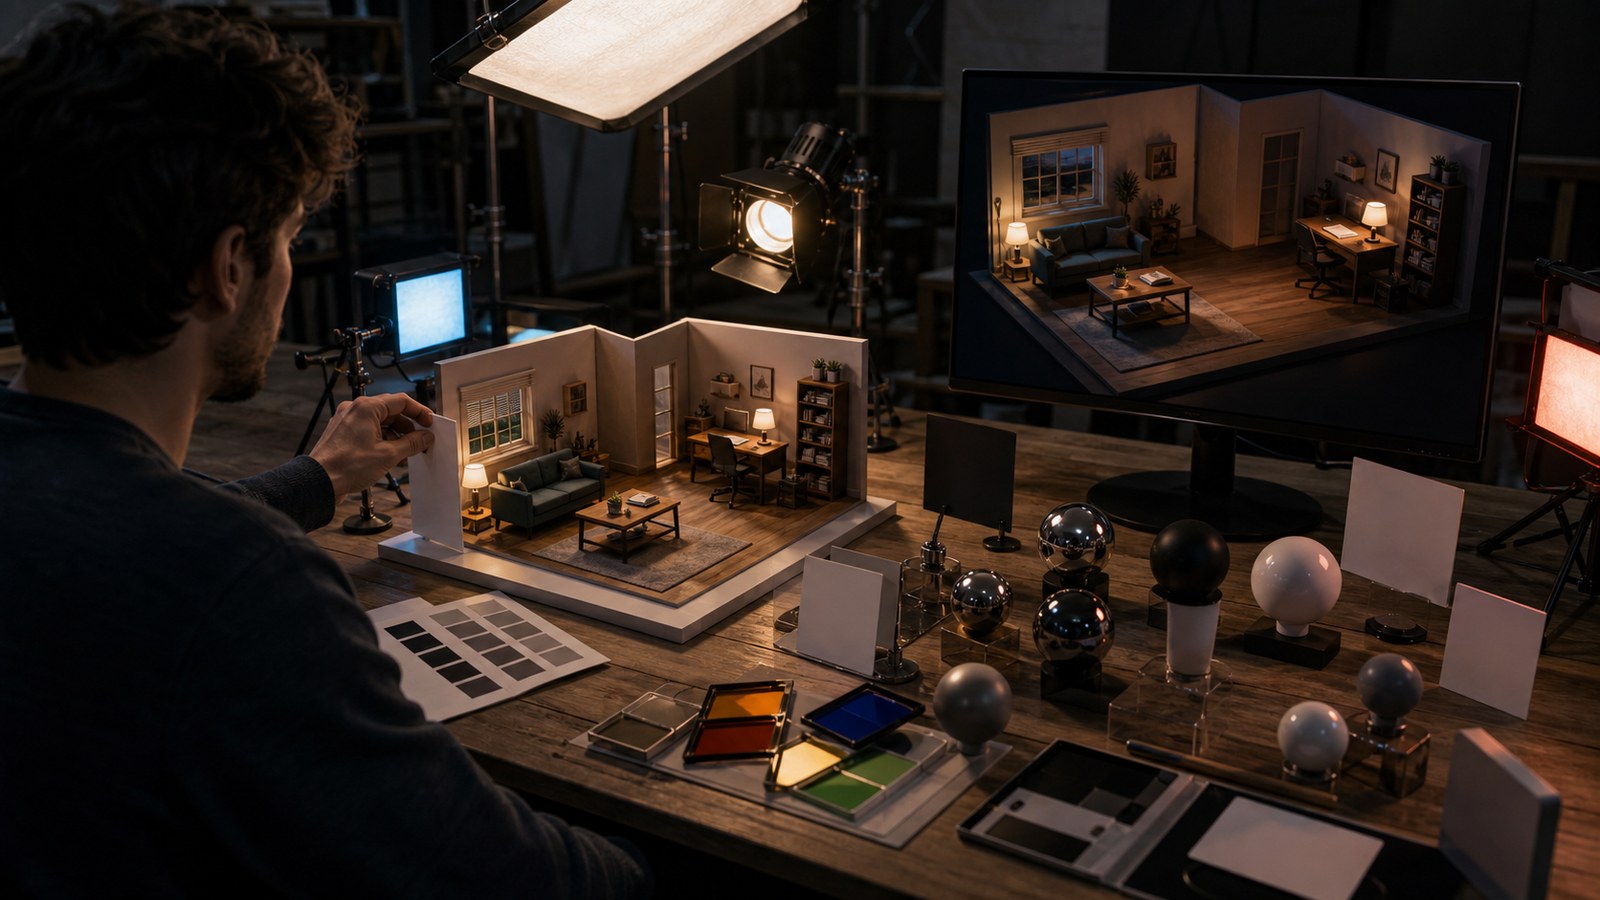
Lighting in Blender can turn a plain scene into a stunning render because it controls what viewers notice, how materials read, and what mood the image carries. Models, textures, and composition matter, but lighting is often what makes them feel finished. A strong lighting setup explains form with shadows, separates subjects from backgrounds, reveals material response, guides the eye, and supports the story of the scene. Beginners often add more lights when a render looks weak, but better lighting usually starts with fewer, clearer decisions: one key direction, controlled fill, intentional rim light, believable color temperature, and careful exposure. Blender gives artists many options, including area lights, point lights, spotlights, sun lamps, HDRIs, emissive materials, volumetrics, and render-engine controls. The art is knowing what each light is supposed to do before adding another one.
A: Area lights are versatile, but the best light depends on the scene goal.
A: The key light is the main light that defines form and direction.
A: No. Fill is useful when shadows need detail, but darkness can also be intentional.
A: Rim light separates a subject from the background by catching edges.
A: HDRIs are helpful, but they should be controlled instead of replacing lighting decisions.
A: Flat renders often have unclear light direction, weak contrast, or overfilled shadows.
A: Shadows reveal contact, depth, form, and mood.
A: It describes warm or cool light color and affects emotional tone.
A: Use quick previews, clay renders, material checks, and small final samples.
A: Lighting can help presentation, but it cannot fully fix weak modeling or composition.
Assign Every Light A Job
Blender lighting roles matters because Blender artists need a way to judge the work before polish hides the structure. A sculpt, render, or lighting setup can look busy and still fail at the basic level of form, readability, or mood. The first question is not whether the result has enough features. It is whether the main idea can be understood quickly and improved deliberately. That question keeps the artist focused on decisions that survive beyond a close-up view.
The common risk is that lights multiply without purpose. Beginners often experience this as confusion rather than a single obvious mistake. They add more strokes, settings, lights, or materials because adding feels productive. The work becomes heavier, but the underlying problem remains. A good workflow slows that reaction down and asks what layer actually needs attention. Sometimes the best next step is removing detail, simplifying the light, or returning to reference.
A stronger habit uses key, fill, rim, practical, and environment roles. This creates evidence instead of guesswork. It lets the artist compare the work to reference, test it at the right scale, and decide whether the next pass should change proportion, surface quality, topology, material, camera, or light. The process becomes calmer because each pass has a purpose. It also makes critique more useful because reviewers can respond to the current stage instead of asking for everything at once.
Start With One Key Direction
Key lighting in Blender matters because beginners lighting scenes need a way to judge the work before polish hides the structure. A sculpt, render, or lighting setup can look busy and still fail at the basic level of form, readability, or mood. The first question is not whether the result has enough features. It is whether the main idea can be understood quickly and improved deliberately. That question keeps the artist focused on decisions that survive beyond a close-up view.
The common risk is that the render has brightness but no shape. Beginners often experience this as confusion rather than a single obvious mistake. They add more strokes, settings, lights, or materials because adding feels productive. The work becomes heavier, but the underlying problem remains. A good workflow slows that reaction down and asks what layer actually needs attention. Sometimes the best next step is removing detail, simplifying the light, or returning to reference.
Use Fill Without Flattening
Fill light control matters because artists balancing contrast need a way to judge the work before polish hides the structure. A sculpt, render, or lighting setup can look busy and still fail at the basic level of form, readability, or mood. The first question is not whether the result has enough features. It is whether the main idea can be understood quickly and improved deliberately. That question keeps the artist focused on decisions that survive beyond a close-up view.
The common risk is that shadows lose all mood and depth. Beginners often experience this as confusion rather than a single obvious mistake. They add more strokes, settings, lights, or materials because adding feels productive. The work becomes heavier, but the underlying problem remains. A good workflow slows that reaction down and asks what layer actually needs attention. Sometimes the best next step is removing detail, simplifying the light, or returning to reference.
A stronger habit uses low-intensity fill and bounce logic. This creates evidence instead of guesswork. It lets the artist compare the work to reference, test it at the right scale, and decide whether the next pass should change proportion, surface quality, topology, material, camera, or light. The process becomes calmer because each pass has a purpose. It also makes critique more useful because reviewers can respond to the current stage instead of asking for everything at once.
Shape The Subject With Rim Light
Rim and back lighting matters because character and product renderers need a way to judge the work before polish hides the structure. A sculpt, render, or lighting setup can look busy and still fail at the basic level of form, readability, or mood. The first question is not whether the result has enough features. It is whether the main idea can be understood quickly and improved deliberately. That question keeps the artist focused on decisions that survive beyond a close-up view.
The common risk is that subjects blend into the background. Beginners often experience this as confusion rather than a single obvious mistake. They add more strokes, settings, lights, or materials because adding feels productive. The work becomes heavier, but the underlying problem remains. A good workflow slows that reaction down and asks what layer actually needs attention. Sometimes the best next step is removing detail, simplifying the light, or returning to reference.
Treat HDRIs As A Base Layer
HDRI lighting in Blender matters because environment artists need a way to judge the work before polish hides the structure. A sculpt, render, or lighting setup can look busy and still fail at the basic level of form, readability, or mood. The first question is not whether the result has enough features. It is whether the main idea can be understood quickly and improved deliberately. That question keeps the artist focused on decisions that survive beyond a close-up view.
The common risk is that the HDRI decides the whole mood by accident. Beginners often experience this as confusion rather than a single obvious mistake. They add more strokes, settings, lights, or materials because adding feels productive. The work becomes heavier, but the underlying problem remains. A good workflow slows that reaction down and asks what layer actually needs attention. Sometimes the best next step is removing detail, simplifying the light, or returning to reference.
A stronger habit uses rotation, strength, and added local lights. This creates evidence instead of guesswork. It lets the artist compare the work to reference, test it at the right scale, and decide whether the next pass should change proportion, surface quality, topology, material, camera, or light. The process becomes calmer because each pass has a purpose. It also makes critique more useful because reviewers can respond to the current stage instead of asking for everything at once.
Let Shadows Tell The Truth
Shadow design matters because render artists need a way to judge the work before polish hides the structure. A sculpt, render, or lighting setup can look busy and still fail at the basic level of form, readability, or mood. The first question is not whether the result has enough features. It is whether the main idea can be understood quickly and improved deliberately. That question keeps the artist focused on decisions that survive beyond a close-up view.
The common risk is that objects feel disconnected from the set. Beginners often experience this as confusion rather than a single obvious mistake. They add more strokes, settings, lights, or materials because adding feels productive. The work becomes heavier, but the underlying problem remains. A good workflow slows that reaction down and asks what layer actually needs attention. Sometimes the best next step is removing detail, simplifying the light, or returning to reference.
Use Color With Restraint
Color temperature and gels matters because stylized lighting artists need a way to judge the work before polish hides the structure. A sculpt, render, or lighting setup can look busy and still fail at the basic level of form, readability, or mood. The first question is not whether the result has enough features. It is whether the main idea can be understood quickly and improved deliberately. That question keeps the artist focused on decisions that survive beyond a close-up view.
The common risk is that colored lights become noisy decoration. Beginners often experience this as confusion rather than a single obvious mistake. They add more strokes, settings, lights, or materials because adding feels productive. The work becomes heavier, but the underlying problem remains. A good workflow slows that reaction down and asks what layer actually needs attention. Sometimes the best next step is removing detail, simplifying the light, or returning to reference.
A stronger habit uses warm-cool contrast and limited palettes. This creates evidence instead of guesswork. It lets the artist compare the work to reference, test it at the right scale, and decide whether the next pass should change proportion, surface quality, topology, material, camera, or light. The process becomes calmer because each pass has a purpose. It also makes critique more useful because reviewers can respond to the current stage instead of asking for everything at once.
Preview Materials Under Lighting
Material checks matters because look-development beginners need a way to judge the work before polish hides the structure. A sculpt, render, or lighting setup can look busy and still fail at the basic level of form, readability, or mood. The first question is not whether the result has enough features. It is whether the main idea can be understood quickly and improved deliberately. That question keeps the artist focused on decisions that survive beyond a close-up view.
The common risk is that materials are judged under misleading light. Beginners often experience this as confusion rather than a single obvious mistake. They add more strokes, settings, lights, or materials because adding feels productive. The work becomes heavier, but the underlying problem remains. A good workflow slows that reaction down and asks what layer actually needs attention. Sometimes the best next step is removing detail, simplifying the light, or returning to reference.
Render Small Tests Before Finals
Lighting iteration matters because artists preparing final renders need a way to judge the work before polish hides the structure. A sculpt, render, or lighting setup can look busy and still fail at the basic level of form, readability, or mood. The first question is not whether the result has enough features. It is whether the main idea can be understood quickly and improved deliberately. That question keeps the artist focused on decisions that survive beyond a close-up view.
The common risk is that full renders waste time on unresolved choices. Beginners often experience this as confusion rather than a single obvious mistake. They add more strokes, settings, lights, or materials because adding feels productive. The work becomes heavier, but the underlying problem remains. A good workflow slows that reaction down and asks what layer actually needs attention. Sometimes the best next step is removing detail, simplifying the light, or returning to reference.
A stronger habit uses viewport samples, crops, and exposure checks. This creates evidence instead of guesswork. It lets the artist compare the work to reference, test it at the right scale, and decide whether the next pass should change proportion, surface quality, topology, material, camera, or light. The process becomes calmer because each pass has a purpose. It also makes critique more useful because reviewers can respond to the current stage instead of asking for everything at once.


